Welcome to my WordPress Noob Guide!
From now on, I will be posting tutorials, tips and tricks for those who already know software development, but have a hard time dealing with WordPress. This ideia came to mind after hearing so much complaints about how the CMS is buggy and doesn’t let people work with “real software development”. Needless to say those complaints comes from the developers’ community.
This guide, as many others available on the web, is intended for:
- People who posses little or advanced knowledge in the web development basic stack (HTML, CSS, JS, PHP) and needs to work with WordPress;
- People completely unaware that is possible do develop a website in their own machines, keeping the work only available for them before deploying the project to a web server;
- Block builder developers who want to make tweaks in the code to achieve results beyond the block editor plugins capabilties;
Furthermore, I will be talking about how to use popular libraries and technologies inside your WordPress site. In that way, I hope to help you use your favorite tools to develop and achieve amazing results with WordPress. As a heads up, I can say you will be using modularization, object oriented programming, package managers, libraries and frameworks as React and Node.
With all that said, let’s start tise guide!
What is a development environment?
If you already works or have experience with software development, skip this section and go to the next one. This is only for the real Noobs on the house.
In software development, professionals divide the work in three different environments:
- Development – a locally installed version of website meant for all the groundwork. In this environment, developers will install themes and plugins, setup a folder strutucre, configuaration of the database, try out custom code and so on;
- Staging – a place to test how the website built in the development stage will behave on a near real environment. With your hosting up to date, you can install a version of your WordPress using a subdomain and see how it behaves in a web environment. This stage allows you to make corrections to your code so It works nicely before deployment;
- Production – the real stage where the show happens. In this environment lives your final website, available for everyone on the internet. It needs to be stable and offer a pleasent experience to your user with all functionalities working and running fine both in the back and frontend.
If you want to know more about the WordPress development workflow, you can read this post.
Setting up the environment
When it comes to setting up an environment, there are several ways to make it work. Some of them are very technical and not at all friendly for most users. This article will not touch that. Instead we will focus on popular tools that help us build websites with agility and ease.
That said, let’s take a look at one of the most used softwares for managing and developing WordPress locally: XAMMP.
XAMMP
XAMPP is completely free and easy to use. It is the go to option for people who are starting with PHP and web development. It gives you everything you need to host and run projects inside your machine, packed with the Apache webserver, MySQL or MariaDB, and even a FTP client. Start the application, turn your servers on and get working!
I used XAMMP for a long time, mainly when I was starting as a WordPress developer and had few knowledge about how things are done.
Pros:
- Easy to install and use in Windows and Mac;
- Gives you freedom to create applications and websites from scratch;
- Can be used for many purposes, like keeping a database alive just so it connects with an API running in another server port.
Cons:
- Tricky to install on Linux distributions;
- Not dedicated to WordPress;
- Needs user permission configuration for working properly with WordPress;
If you use some Linux distribution based on Debian, check this article for some BASH code that will make the installation simple.
Let me take a quick note before we start the installation. I’m a produ Linux user, currently living under the latest Mint release. So, all printscreens and images comes from this system. But don’t worry, the interface is basically the same for Windows and Mac, so you will be fine.
Now, let’s make our first WP installation on XAMMP!
Your first step is downloading and installing XAMMP. After the installation, the following screen will appear for you.
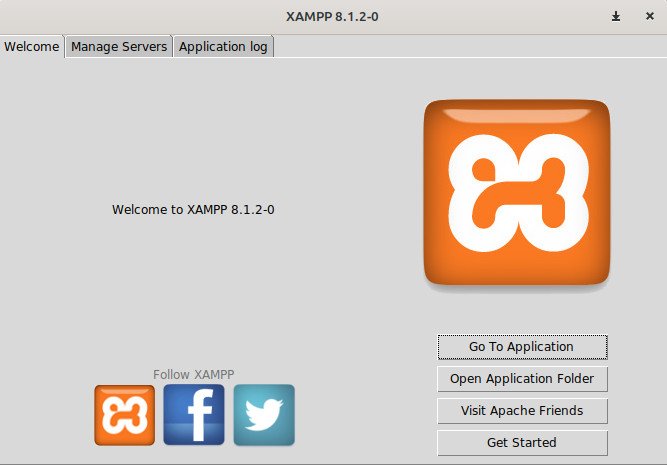
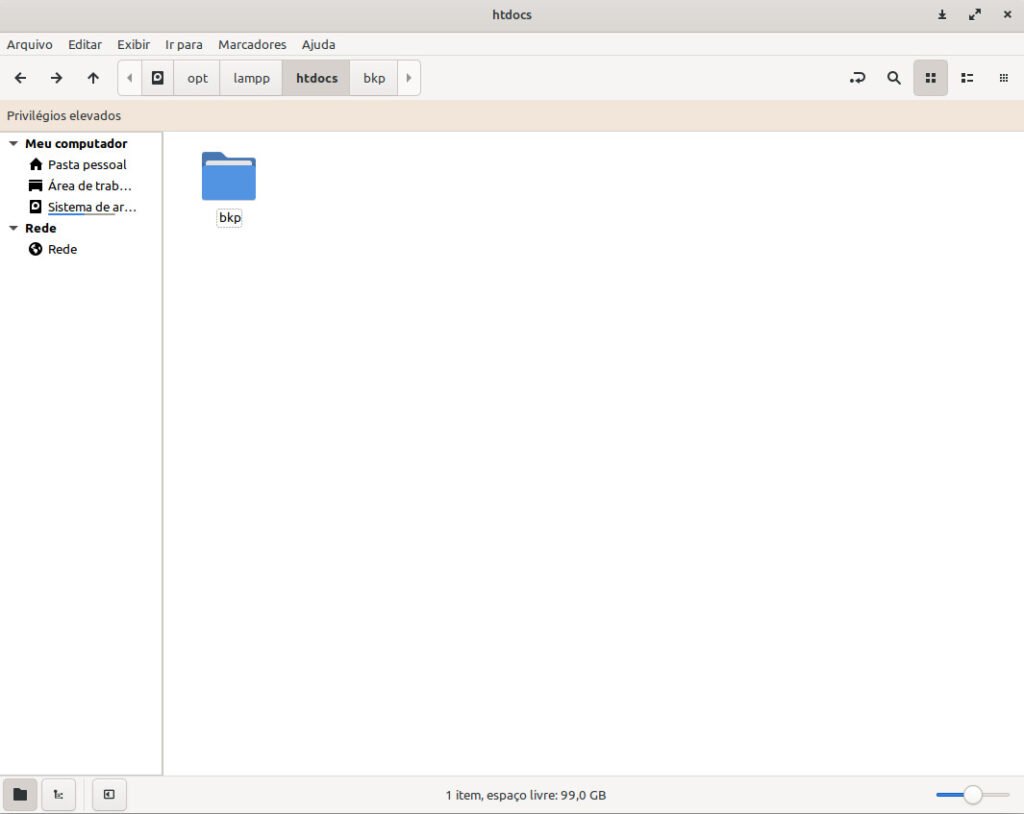
There are only two options of interest to us in this screen, the “Go to application” and the “Open Application Folder ” buttons, which are shortcuts for your root server folder in the browser and root server folder in your machine, respectively. So, give a click in the second one and enter your application folder. In Windows and Mac, you should browse to a directory called “htdocs”. Inside, you will find a all of the default files that you won’t really need. Some people just press shift+delete right away and move on with their lives, but I like to create a folder named “bkp” and move all those files inside it.
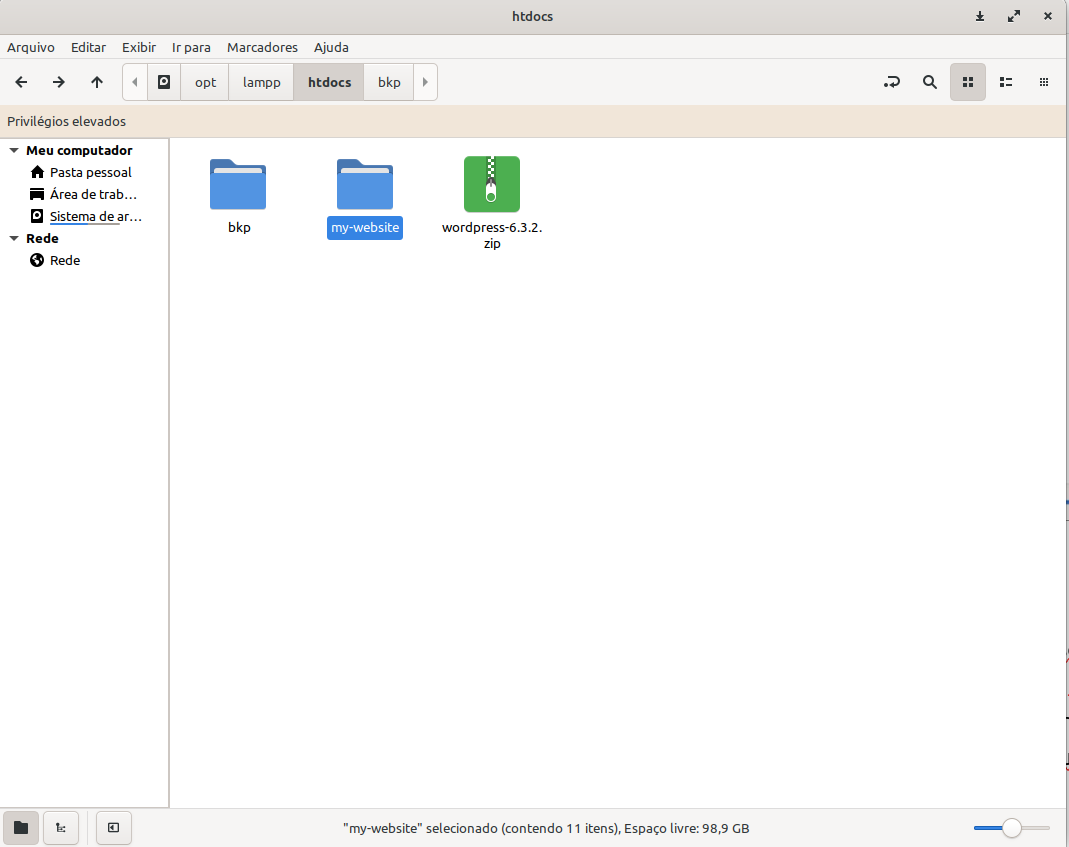
Now that your htdocs folder are ready, let’s download and install WordPress. If you like to see the oficial recommendations from WordPress for local installations, there is a guide availabe in the download link. If not, just move the file you downloaded inside /htdocs and extract it’s files. This folder is your website installation, so change the name to whatever you like. I’m going with “my-website”, just like in the example bellow.
With that done, jump back to XAMMP and start the Apache and MySQL servers, as follows:

Now you can accesss your htdocs folder directly from your browser. Click the “Open Application” button or just type http://localhost in the search bar and hit enter.
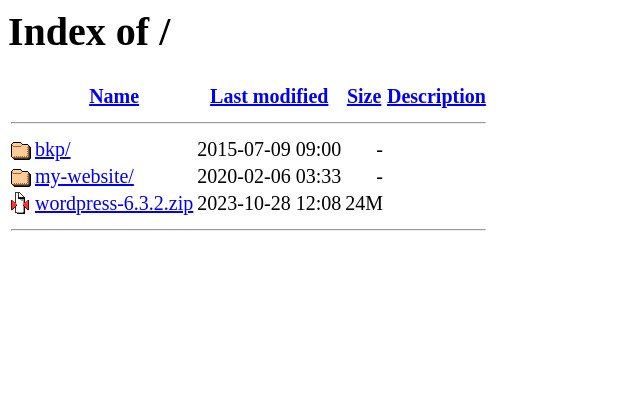
Browse to “my-website” folder to be redirected to the WordPress installation wizard and click “Let’s go!”.
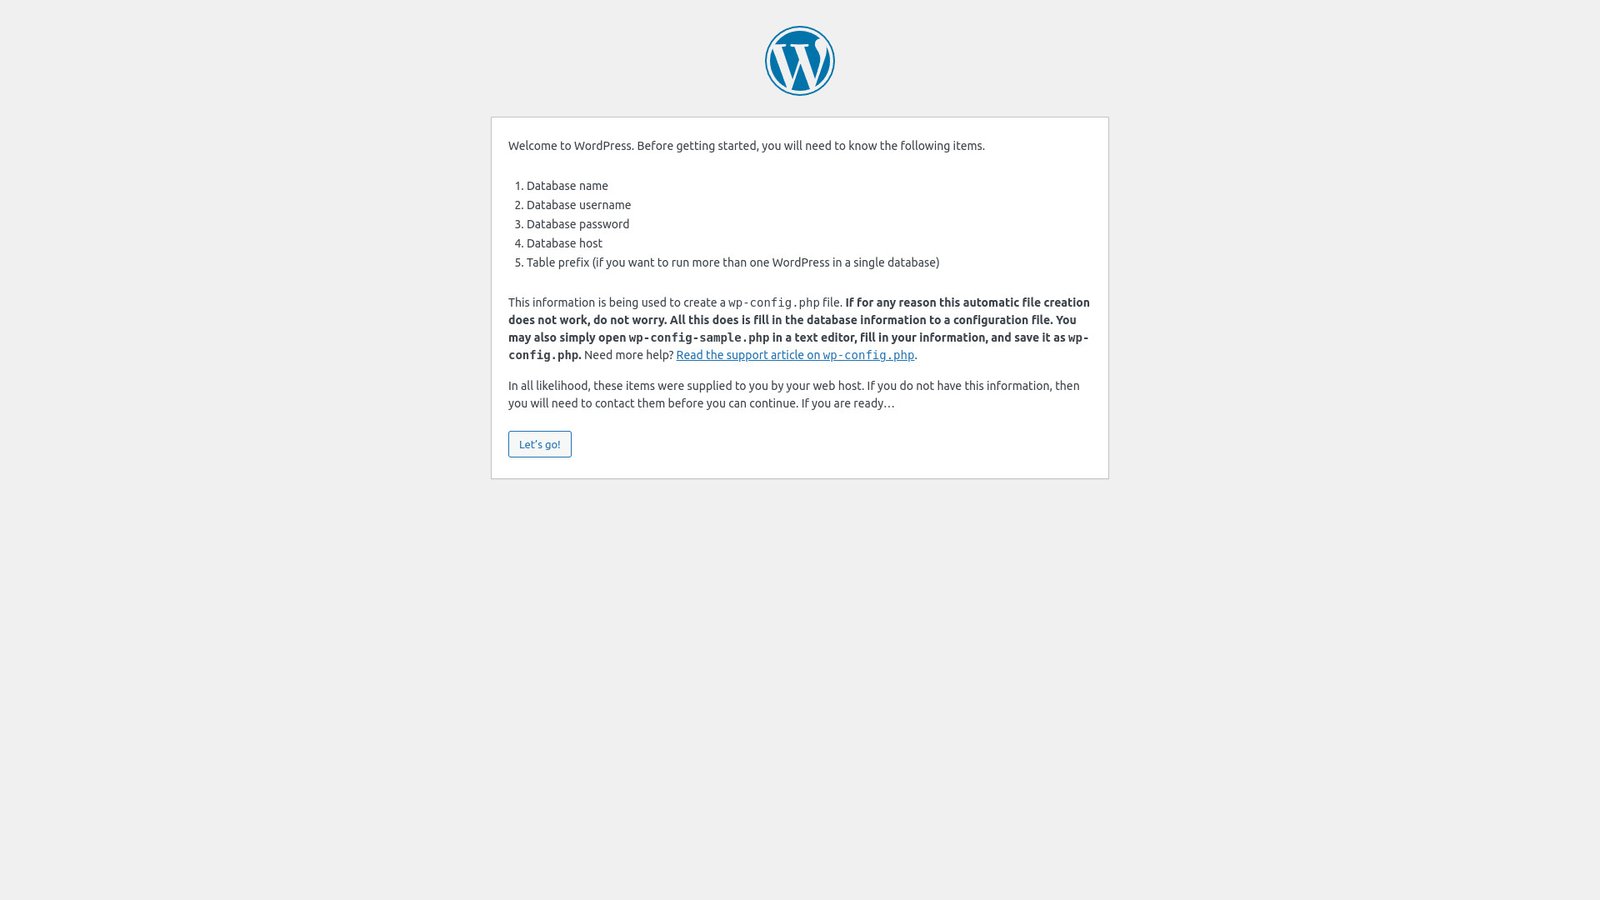
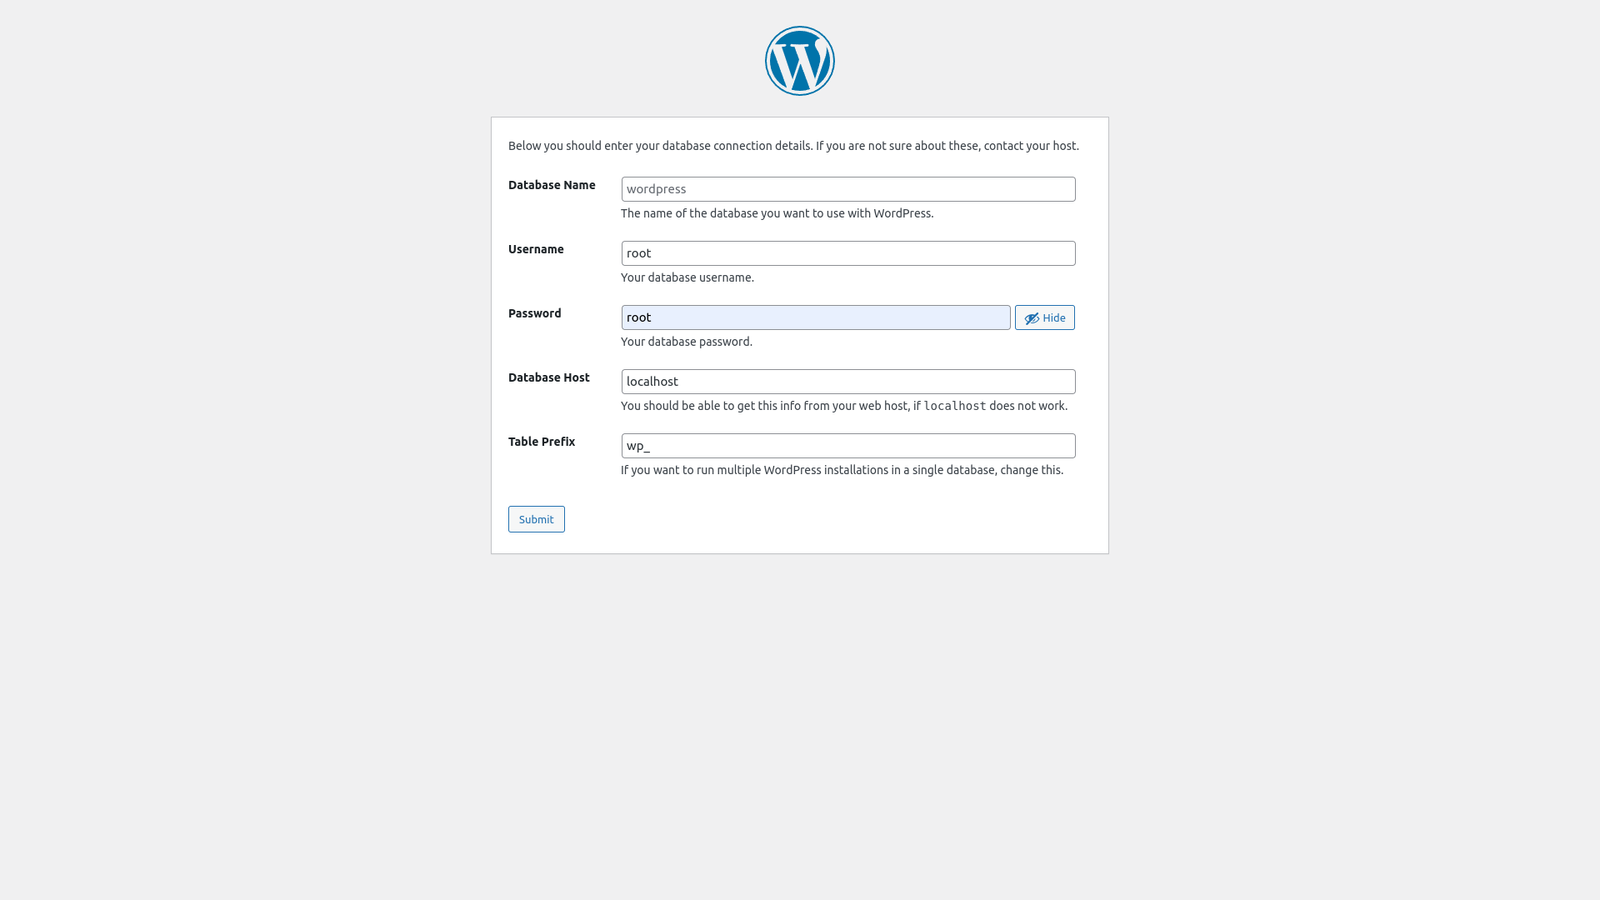
After clicking the “Let’s go!” button, you will face the database settings page. This form will define the database connection variables inside your WordPress website. If you already know how to handle databases, you are safe. If not, let’s go trough this field by field:
- Database Name: the name of the database in which your site will store its data;
- Username: the username of the database. While using XAMMP, the default value is always root;
- Password: the password for the database. Default value is an empty string (“”). You can change It, but it doesn’t really matters since it lives only inside your computer, and not in the web. I strongly recommend keeping this values as default;
- Database Host: the address of the host serving your website to the client. Default value is localhost. Keep in mind that you can change that in XAMMP itself by switching the default port of your Apache server, which is 8000. Doing that can impact your application in case you have hardcoded some link or reference. If you have few knowledge about this matter, keep it on the default settings.
- Table Prefix: WordPress uses the “wp_” prefix as default for every table in the database. So, instead of a table named posts, WordPress creates the table wp_posts. You can change the prefix during instalation by passing any given value to this field, but that can be done later in the site settings. While in the development environment, there are really no problems in letting the prefixs the way they are, but in live production is a whole other story. That is because evereyone who ever had contact with WordPress knows how the deault tables are named inside the database, and that poses a security threat to your business. Knowing that, many hosts change these default settings automaticaly, so you don’t have to worry with these kinds of basic vulnerabilities. For now, keep it as default.
Now you know what this form is meant for, you may be wondering – where do I get the database name? For that, we must first create the database and then paste It’s name in the field. For that, browse to http://localhost/phpmyadmin or open PphpMyAdmin from the XAMMP manager. You should be redirected to the main page of the database management system, PhpMyAdmin. There, click “New”, as shown in the example bellow.

Select a name for your database and click “Create”. Fot this example, I used “my_website” as the name of my database.
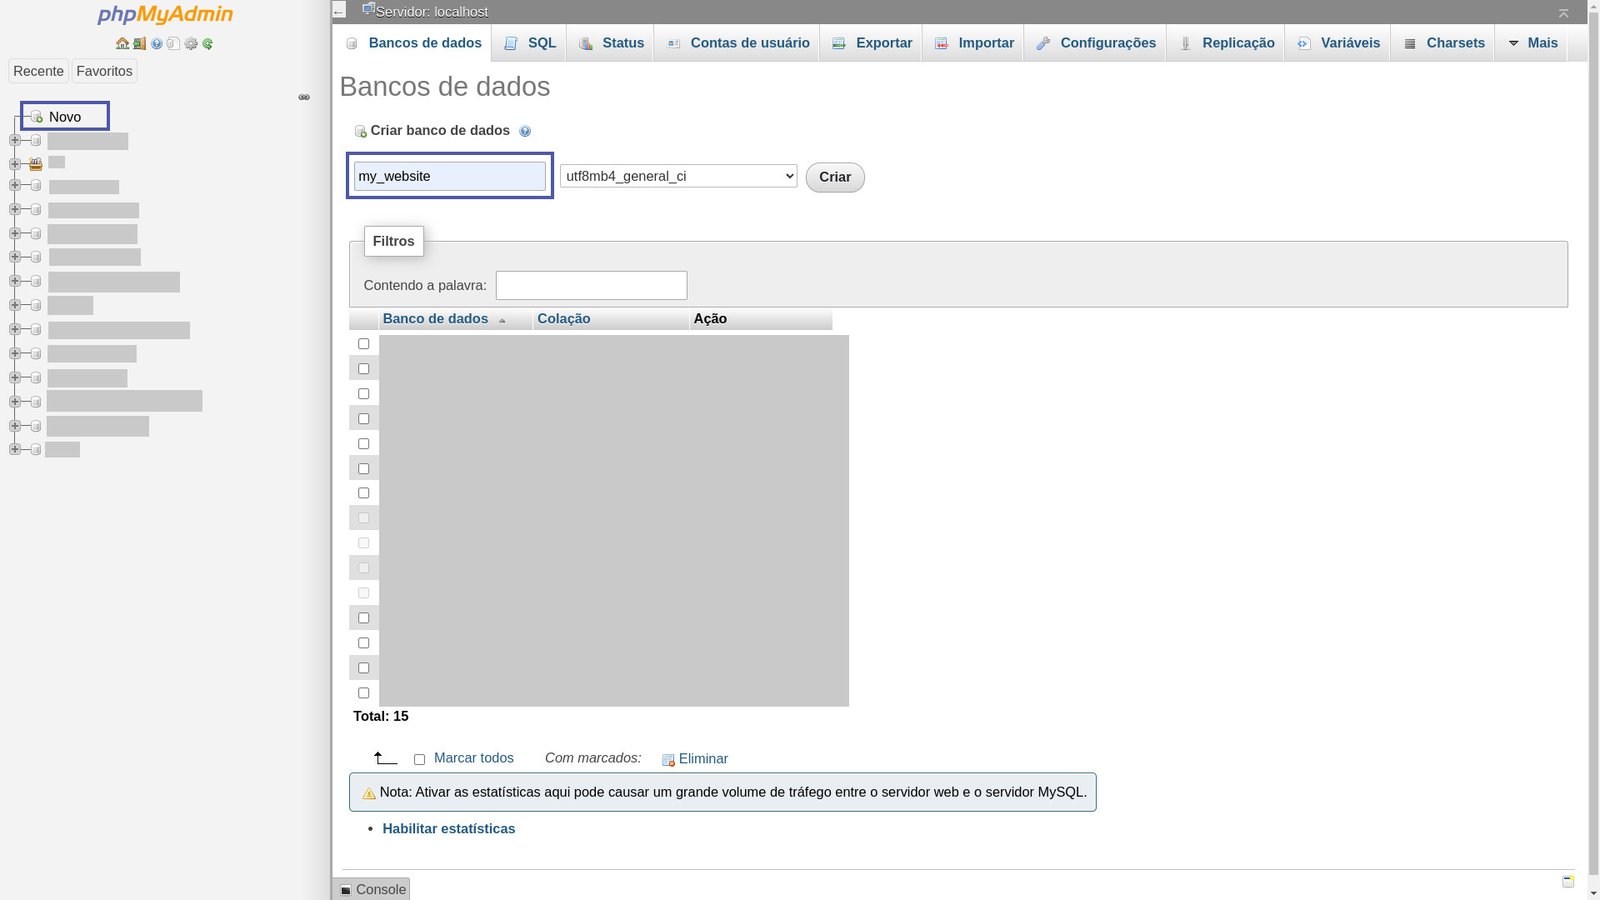
Paste the database name in the WordPress install wizard and hit the “Submit” button. This should suffice the installation if you are using Windows or Mac, but for a Linux distribution you may incur in the following problem.
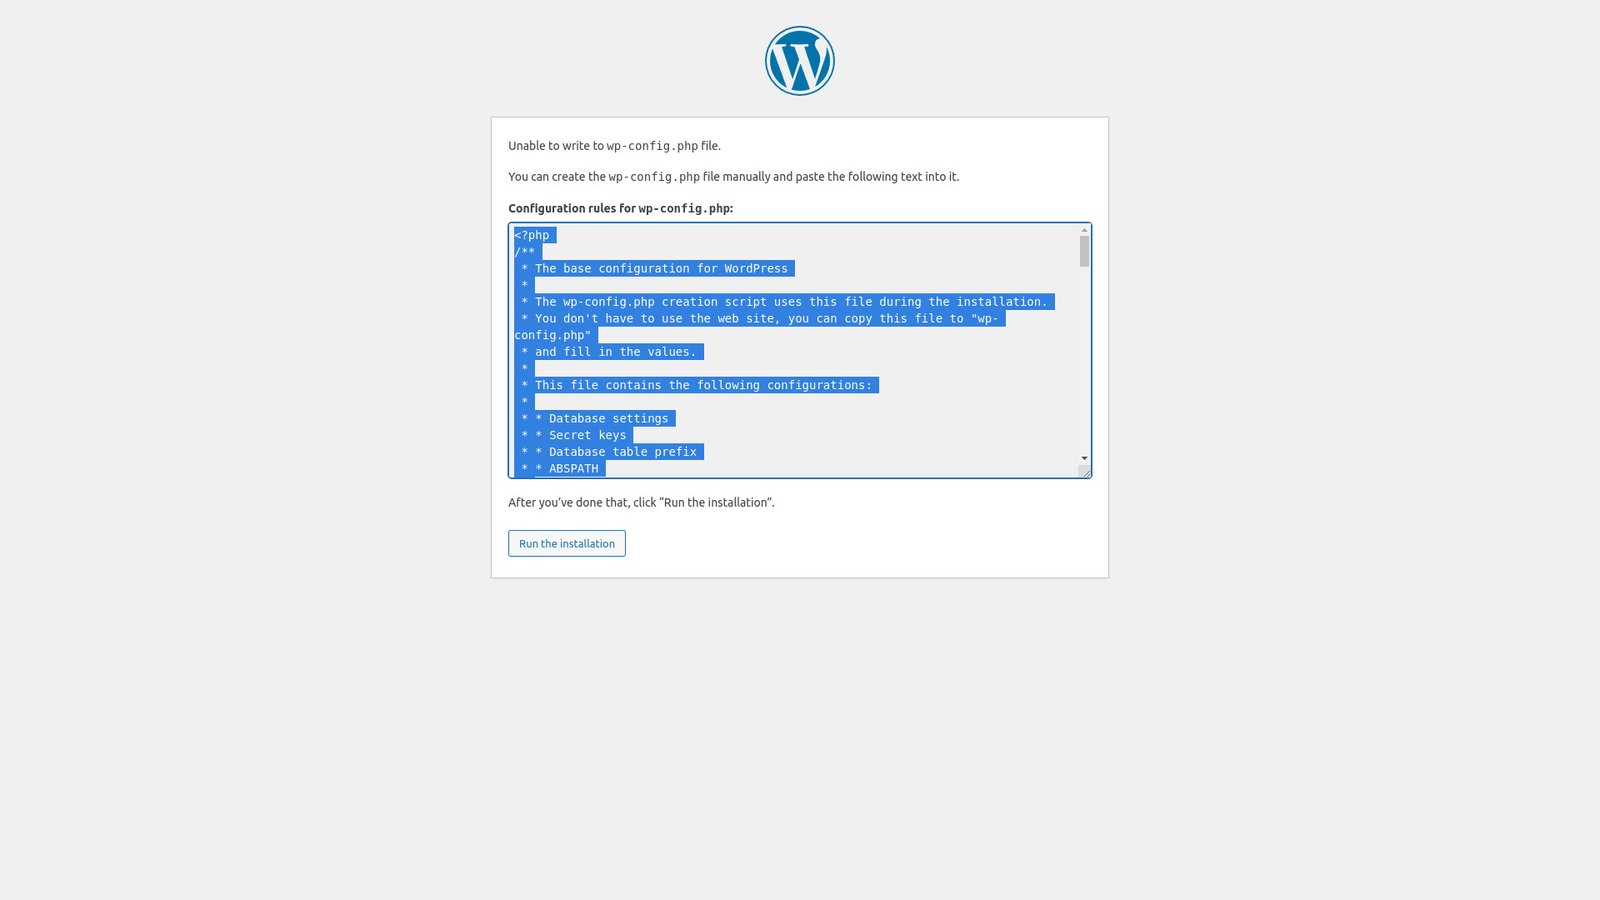
This happens because in Linux, only the root (or super) user can alter the htdocs files, but the solution is the same for all operating systems. In your file borwser, find the website folder (htdocs/my-website) and change its permission settings for your default user to read and write, return to the database connection screen and hit submit again. Do this to prevent this behavior from WordPress and to be able to comfortably edit the files with your favorite code editor. If this solutions doesn’t works for you, copy the content given by WordPress, create a file named wp-config.php inside your project folder, paste the code, save and click “Run the installation”.
Keep in mind, the first solution is the best solution for working with XAMMP, but don’t forget that those persmissions should NEVER translate to your webserver. I’ll tell you why in a future post, for now let’s get moving.
With all that out of the way, you are now in the website settings page, as follows:
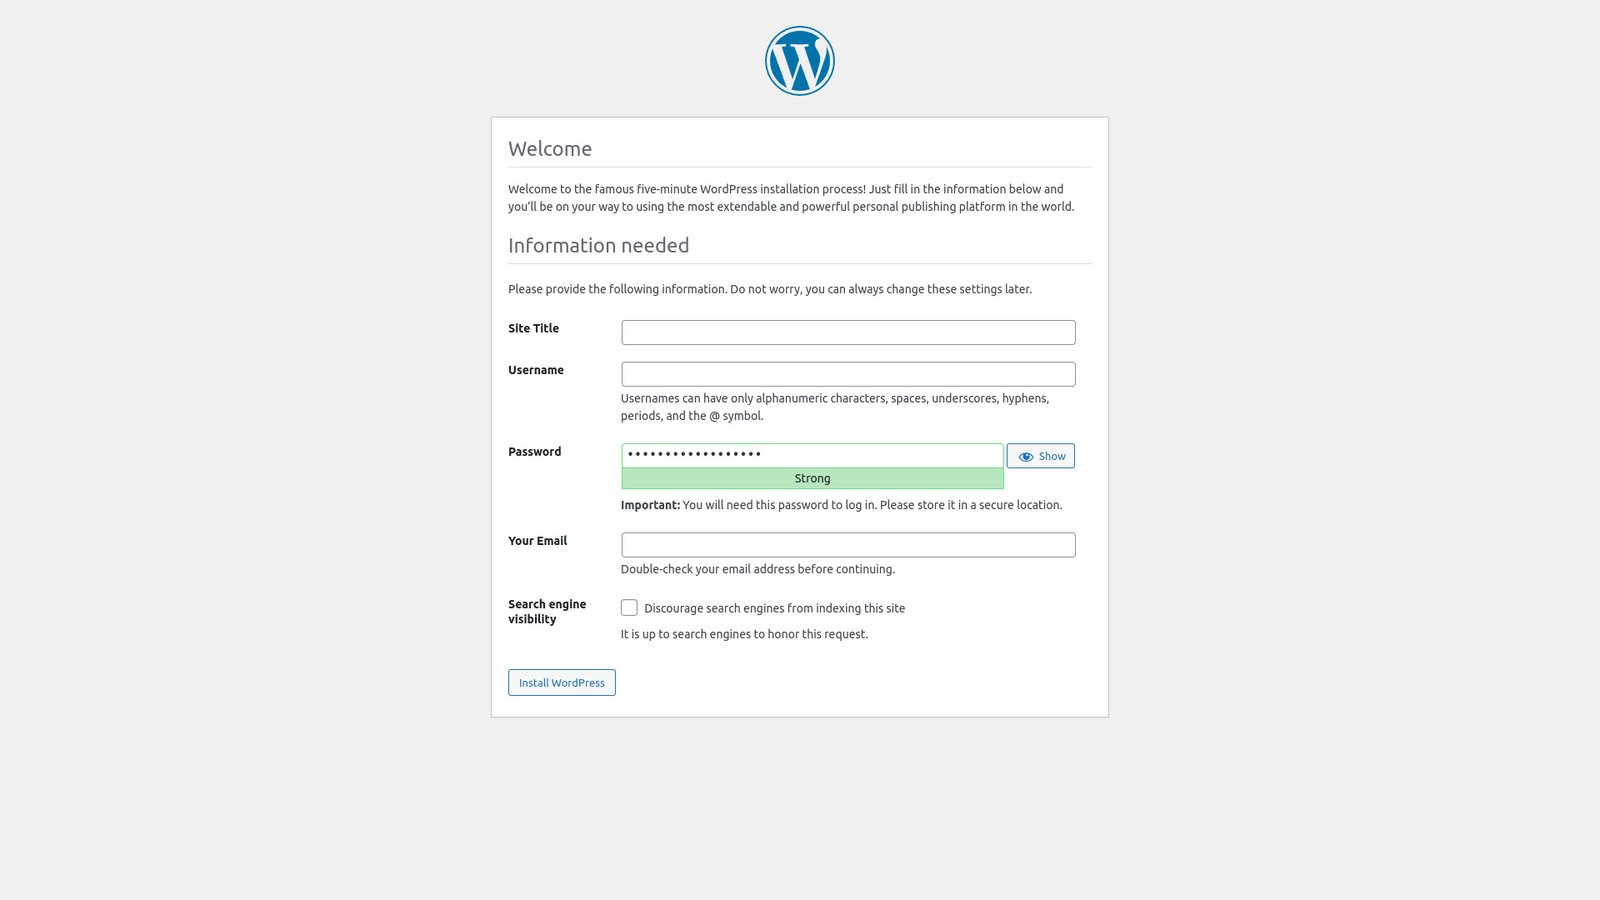
Now, this screen is pretty much self explanatory. Give your site a title, your admin user a name, set a password, e-mail and hide from the search engines, if you want. That is easily reversible. For now I’m going with the values:
- Site Title: My Website
- Username: dev
- Password: root
- E-mail: email@example.com
Feel free to give your website the name your heart desires, but I strongly recomend to keep both username and password simple for your development environment. You can change that right before deployment or even after, but for now It will prevent you from forgeting your username and password. That is less likely to happen if they are all the same for all of your local WordPress instalations.
The only thing left now is to click “Install WordPress” and have access to the login page.
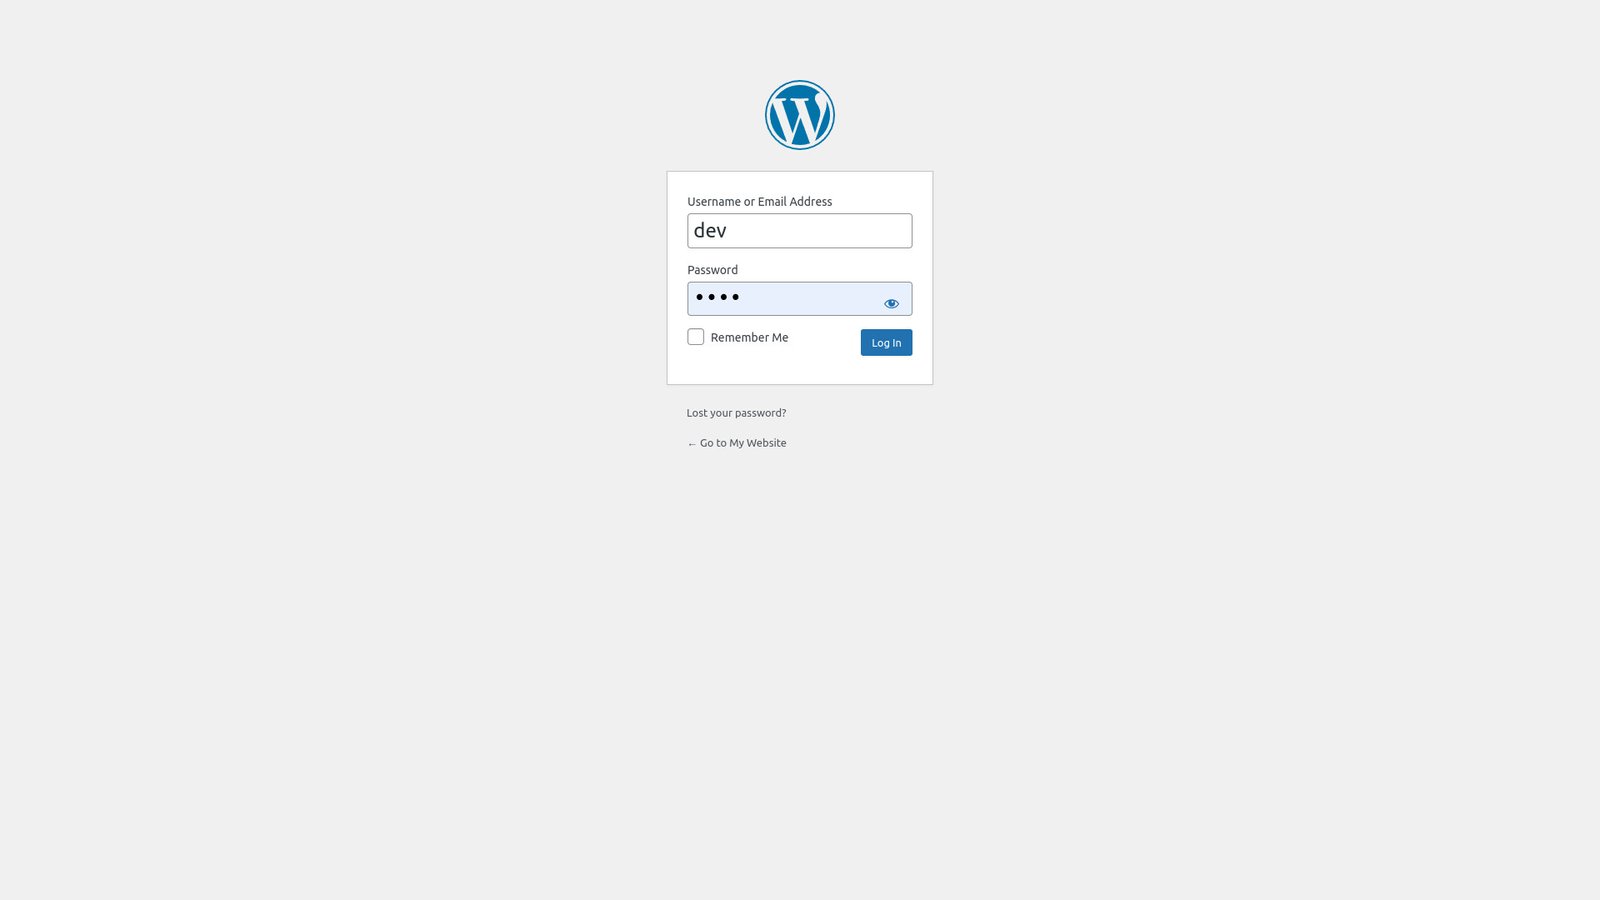
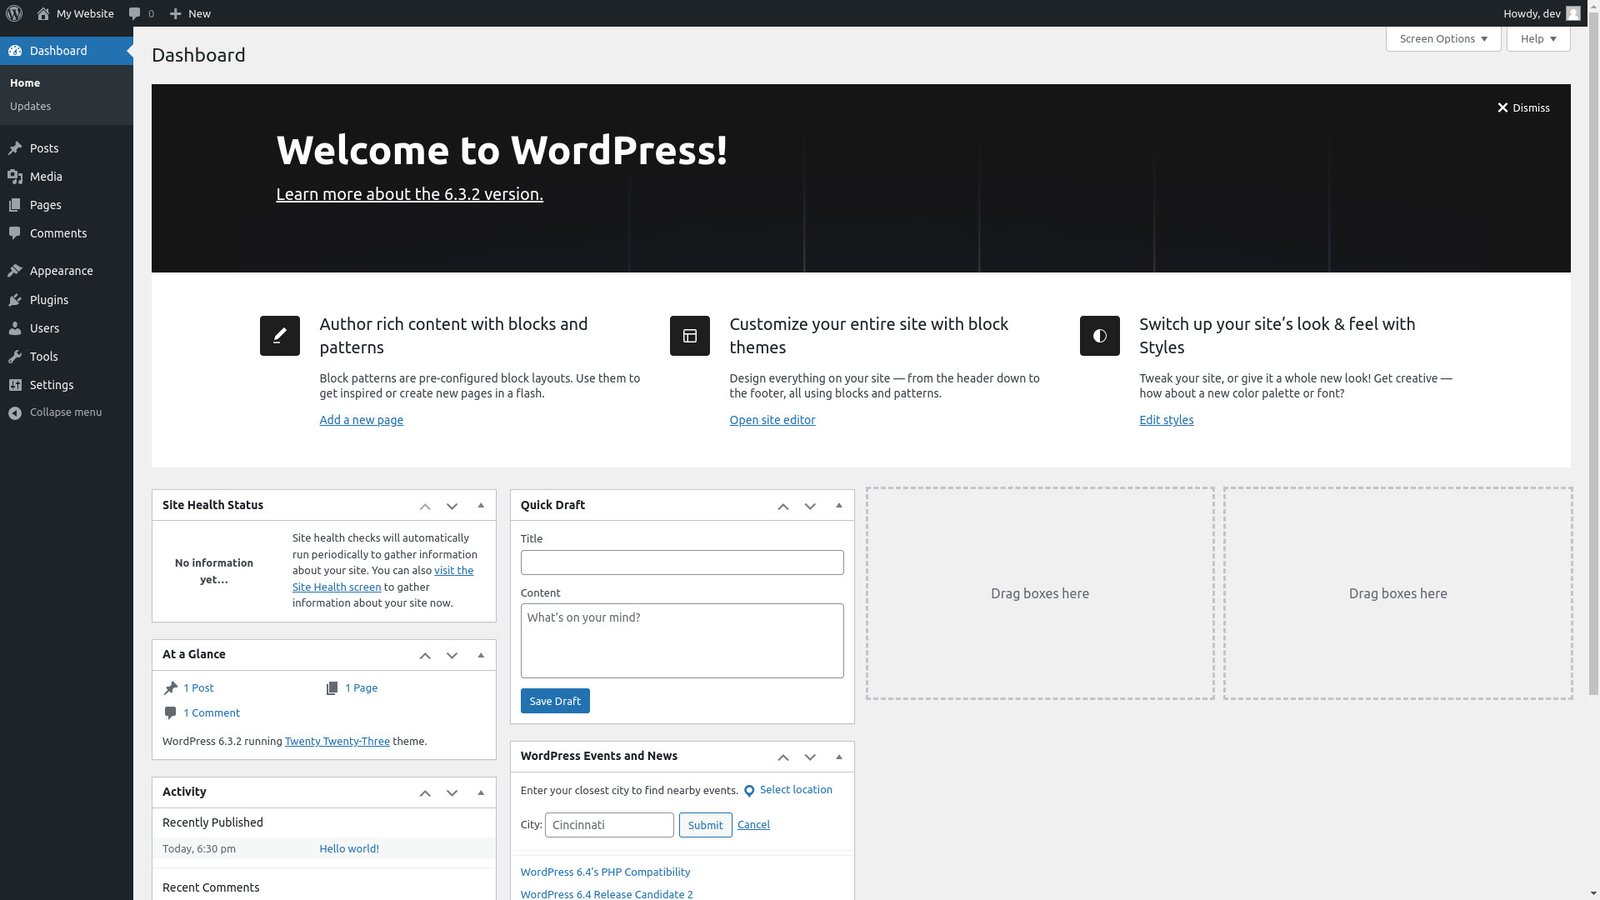
Congratulations, you now have a fresh WordPress installation in your local machine!
But, before you go jumping to installing plugins and all, get this tip. As mentioned before, XAMMP have some permission issues, one of those being the requirement of FTP for installing some plugins. Fortunately, this is a problem solvable with a short line of PHP code. Copy and paste the following code in your wp-config.php, right after the database settings area.
If you are having trouble figuring out where to put this line of code in your file, don’t sweat. Look for something similar to the following code snippet and just place the line like the example:
Done! WordPress wont ask for FTP credentials no more and you can start editing your website in a safe, reliable, experimental and reusable development environment.
This was not quite simple, was it? That is because XAMMP is not WordPress dedicated. Next time, I will be showing you how to use a dedicated WordPress development environment manager that is way simpler and easy to install and use.
See you then!
